As an Amazon Associate, we earn from qualifying purchases. Some links on this site are affiliate links at no extra cost to you. Our recommendations are based on thorough research and editorial judgment.
Why Some Shower Heads Drip After Shutoff and How to Fix It
Some shower heads drip after shutoff due to water tension, which causes residual water to remain in the nozzle. This issue may arise from worn washers, faulty diverter valves, or blockages. To fix it, one should inspect the diverter for obstructions, replace damaged washers, and clean mineral deposits using vinegar. Proper installation of rust-resistant components further prevents leaks. Understanding these underlying factors can help mitigate the problem, leading to more effective long-term solutions.
Key Takeaways
- Water tension at nozzle openings can cause residual water to drip after shutoff; shaking the shower head can help release trapped water.
- Damaged shower valves or worn-out washers may contribute to dripping; inspect and replace these components for a watertight seal.
- Blockages in the diverter mechanism or mineral deposits can hinder drainage; cleaning with vinegar and inspecting for obstructions can resolve this.
- Regular maintenance of the shower head and diverter, such as cleaning and checking for wear, prevents future dripping issues.
- For persistent dripping problems, consulting a licensed plumber can ensure proper diagnosis and repair, avoiding further plumbing complications.
Understanding Water Surge Mechanism
You may be interested


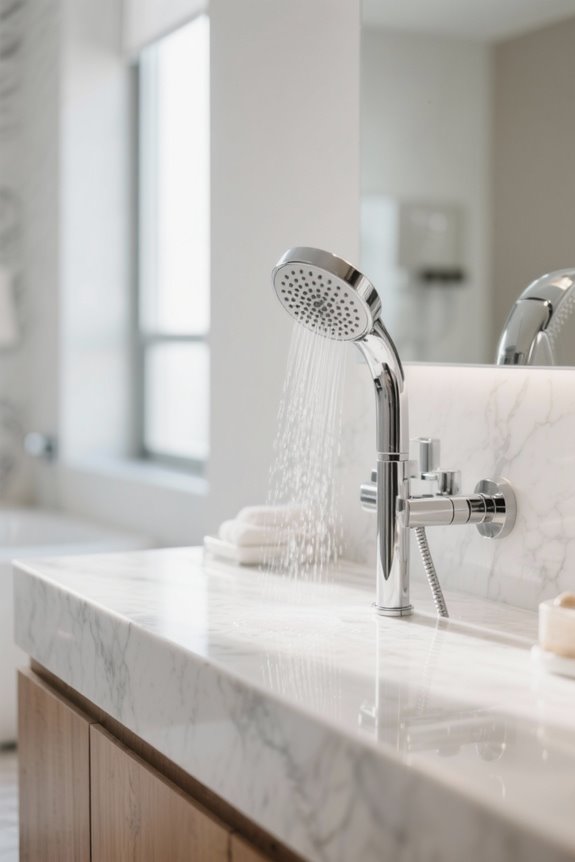
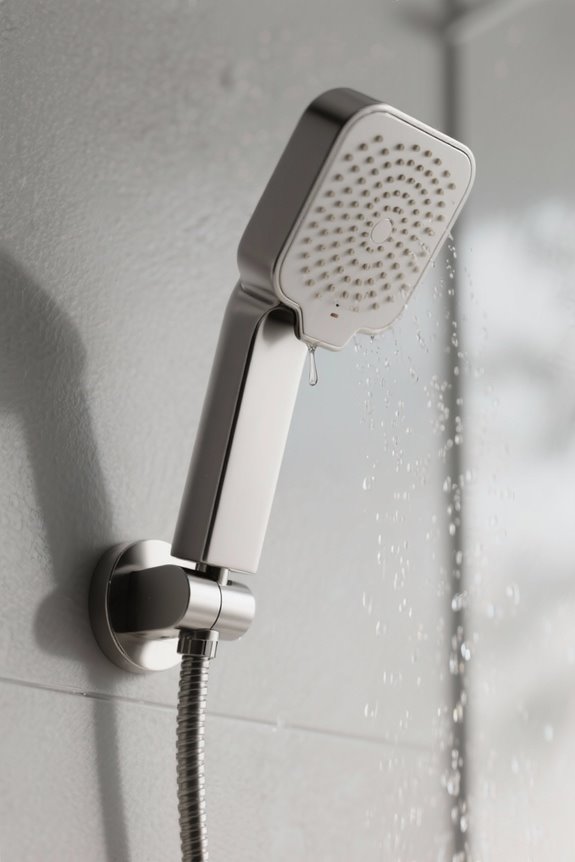
The water surge mechanism is an intriguing phenomenon that centers around the behavior of liquids in confined spaces, such as the nozzles of a shower head. When the water supply is turned off, water tension can cause residual liquid to remain within the nozzles, leading to potential shower head dripping. Disrupting this tension occurs through actions like shaking the shower head or touching the nozzles, which releases trapped water. Additionally, factors such as cooling, vibration, or drying around the shower head can further break the water tension, enhancing the water flow of drips. Proper positioning, such as angling the shower head downward, can greatly influence how much water continues to drip after the system has been shut off, showcasing the complex interplay within the mechanism. Furthermore, water-saving shower heads can help reduce excess water residue by incorporating aerators that limit flow without compromising pressure.
Common Causes of Dripping Shower Heads
While many homeowners overlook the issue, dripping shower heads primarily stem from a variety of preventable causes, each contributing to frustration and inefficiency. One major factor is water tension at the nozzles, which retains a small amount of water even after shutoff, leading to droplets. Additionally, a damaged shower valve can disrupt proper closure, allowing for continual flow; worn-out washers and loose faucet handles exacerbate this problem. Residual water within the shower pipe is influenced by gravity, causing it to trickle back into the faucet and contribute additionally to dripping. Moreover, soap scum or mineral deposits can impede diverter movement, preventing efficient drainage, while improper positioning of the shower head allows water to collect, thereby intensifying the problem of drips. Handheld showerheads offer flexibility for user preferences and can help manage the direction of water flow, potentially reducing drips after shutoff.
Recommended Products

✅ Material – Crafted from premium stainless steel and brass, this modern LED shower system features a stunning ceiling-mounted rain shower head with handheld spray. With its bold design, high-end finish, and luxury feel, it’s built to elevate any modern bathroom.

Bronze Shower Faucet Set Includes: 16X24 inch 3 functions overhead shower head, handheld shower head, 6 PCS body jets, brass thermostatic shower valve. Rain shower system in the massage spa type shower atmosphere, will wash away your fatigue all day

🎁Suntisbo Shower Faucet Set include: 12" square rainfall shower head, bathtub faucet (stainless steel), handheld shower (brass), 15" shower arm (brass), 60" shower hose (PVC), shower head holder (brass) and install accessories.
Diagnosing the Source of the Problem
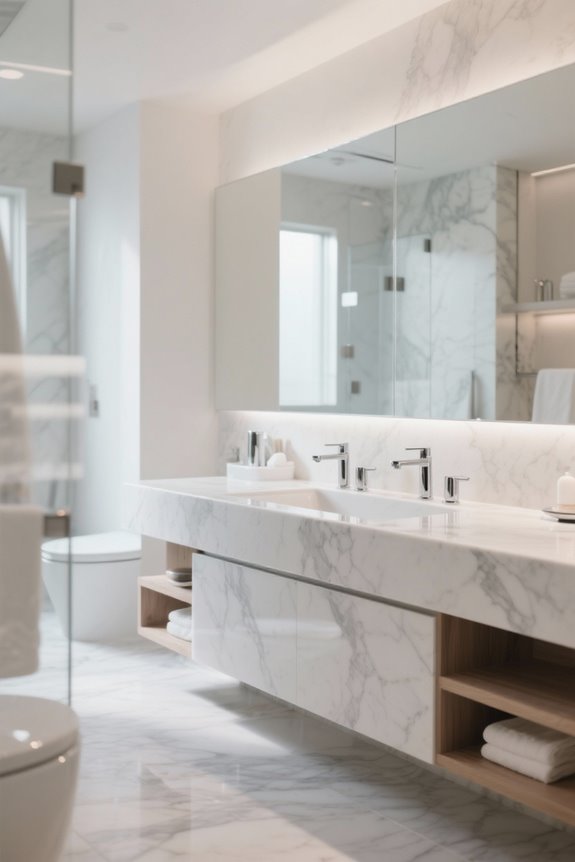
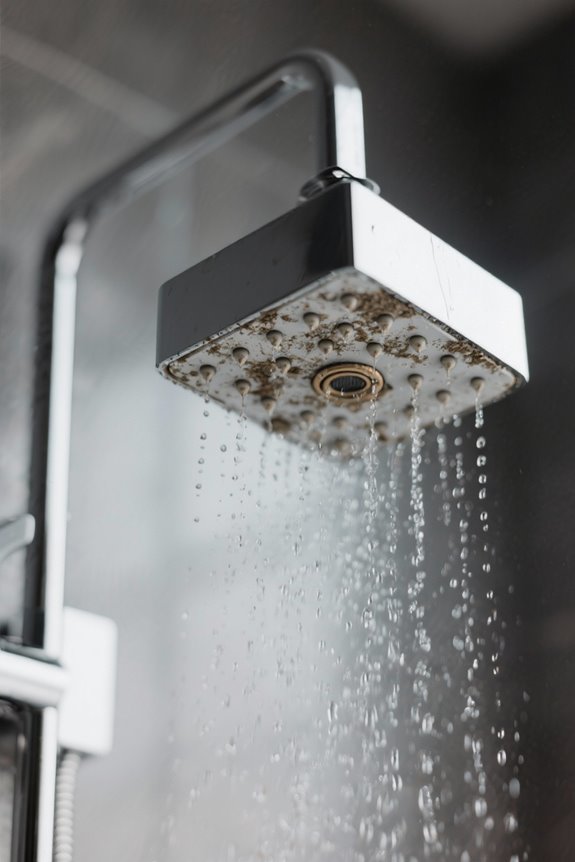
Diagnosing the source of a dripping shower head requires a systematic approach to identify the underlying factors contributing to the problem. First, inspect the diverter mechanism, as a malfunction or obstruction can cause residual water to leak into the shower head. Additionally, examining the shower head itself is essential; designs with low positioning and intricate nozzle structures can exacerbate water retention. It may be beneficial to consider rustproof stainless steel materials when selecting a shower head, as they provide durability and corrosion resistance, potentially reducing maintenance issues related to dripping. Gravity plays a significant role, especially when bathroom plumbing lacks effective drainage design, allowing residual water from pipes to flow back into the shower head. It’s vital to check for blockages or signs of wear in the piping, as these may prevent proper sealing and drainage, ultimately resulting in a persistent dripping shower head.
Recommended Products

Thermostatic spool has a safe stop temperature of 38°C without frequent adjustments. and the pressure balance effectively prevents scalding due to fluctuations in water pressure

Weighted Marble Base for Superior Stability: At 38 lbs, the natural stone base stays firmly planted—even when hit by backyard hose spray or summer wind gusts. Unlike hollow plastic bases that need to be filled with water (and still wobble), ours won’t tip, even on uneven ground

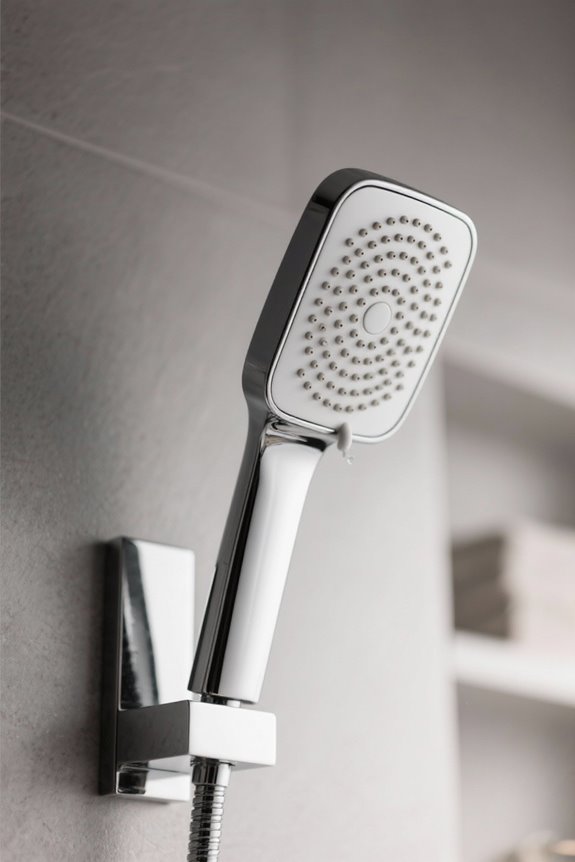
Solid Brass Construction: The product boasts a robust and durable construction made from solid brass, widely recognized as the superior material for plumbing applications. Brass exhibits exceptional properties, such as resistance to rust, corrosion, and tarnish. This ensures that the shower system maintains its pristine appearance and functionality over an extended period, even in humid or challenging environments.
Essential Tools for Repairing a Leaky Shower Head
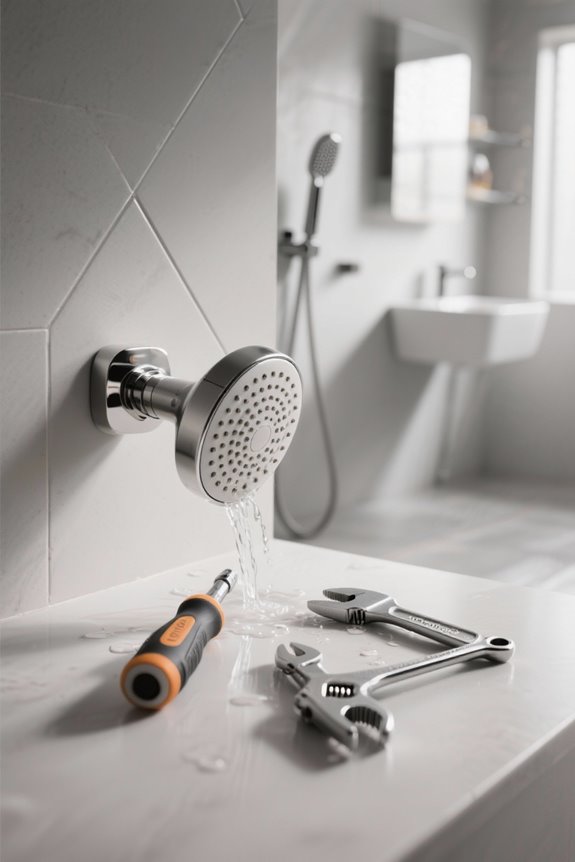
Understanding the tools required for repairing a leaky shower head is fundamental to efficiently tackling the problem once the source has been identified. Essential tools include a wrench or pliers for loosening components, facilitating access to the inner workings of the shower head. A flathead screwdriver or a paper clip is necessary for removing old washers, which may be the cause of the leaking. Additionally, keeping thread seal tape and replacement washers on hand helps create a watertight seal when reattaching the shower head. White vinegar can be utilized to clean mineral deposits before reassembly, ensuring maximum water flow. Finally, using a cloth protects surfaces from scratches, while a bucket or towel catches any residual water, maintaining a clean workspace throughout the repair process. Installing a self-adhesive shower threshold can also help prevent water leakage and complement the repair efforts by enhancing your bathroom’s functionality and style.
Recommended Products

For commercial use (or residential buildings with multiple fixtures)

Modern Freestanding Design: Delta Faucet Stryke Floor-Mount Tub Filler features a high-arc rigid spout for a contemporary, stand-alone bathtub upgrade
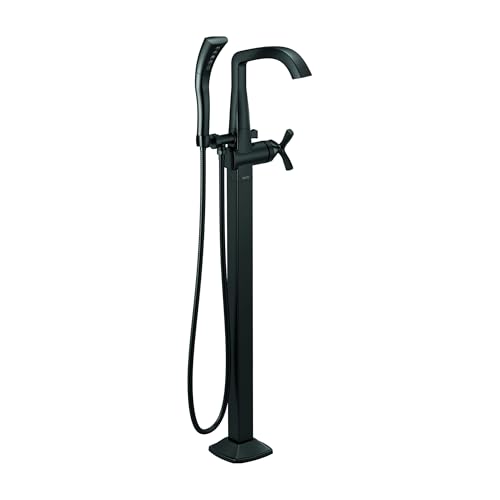
H2Okinetic Hand Shower sculpts water into a unique wave pattern, forming a powerful drench spray
Step-by-Step Guide to Fix a Dripping Shower Head
A systematic approach to fixing a dripping shower head can lead to significant water conservation and improved shower performance, addressing common issues that arise with age and usage. Begin by diagnosing the leak, checking if the dripping occurs with the water on or off, indicating potential shower cartridge problems. Next, shut off the water supply at the valve. Disassemble the shower head, inspecting for visible damage, such as cracks or worn washers. Use tools like a wrench and a flathead screwdriver to facilitate removal, and clean mineral deposits with white vinegar. If a worn washer is found, replace it. Finally, reassemble the shower head securely, allow the water supply to resume, and test to verify that you have successfully fixed your dripping shower. Installing advanced shower thermometers with digital displays can enhance monitoring, ensuring precise temperature control and preventing future issues.
Recommended Products

▶MUSIC FUNCTION + LED COLORFUL ATMOSPHERE:When bathing with this shower, you can Listen to your favorite music and enjoy the dreamy LED lights. Shower isn’t only bathing!

Modern design with square shape cushion seat.
DuraWater, Black Series HD Digital air injection system
Repairing a Leaking Shower Mixer Valve
Repairing a leaking shower mixer valve requires a methodical approach to identify and resolve issues stemming from worn or damaged internal components. First, turn off the water supply to prevent further leakage. Using a Phillips screwdriver and an adjustable wrench, carefully remove the shower mixer valve for inspection. Common culprits of leakage include flow cartridges and seals, which may need replacement if they appear worn or damaged. When reinstalling, make certain that all components are fitted correctly to avoid improper function. Regular maintenance, such as cleaning and lubricating the valve parts, can also help prevent future leaks. For optimal safety, ensure that any replacements or installations are ETL or UL certified for compliance with safety standards. If the dripping persists after attempting repairs, seeking professional assistance may be necessary for a thorough solution to complex valve problems.
When to Replace Your Shower Head
When determining the right time to replace a shower head, several factors emerge as significant indicators of the unit’s condition and performance. A shower head should be replaced if it is consistently leaking water, which often signifies worn seals or internal mechanical issues. Furthermore, if routine cleaning does not resolve drips caused by mineral buildup or clogs, an upgrade may be necessary. Visible damage, such as cracks or corrosion, warrants immediate attention to prevent inefficient water usage and further leakage. Additionally, if internal components have been replaced but significant dripping persists, replacing the entire shower head is advisable. Cabinets constructed from moisture-resistant materials offer an example of durability that can inspire similar considerations for bathroom fixtures. Upgrading to a high-efficiency model can dramatically reduce water usage, ultimately benefiting both utility bills and environmental impact.
Recommended Products

Kit includes the SimpleSteam Generator, SimpleSteam Square Control and Square Steam Head

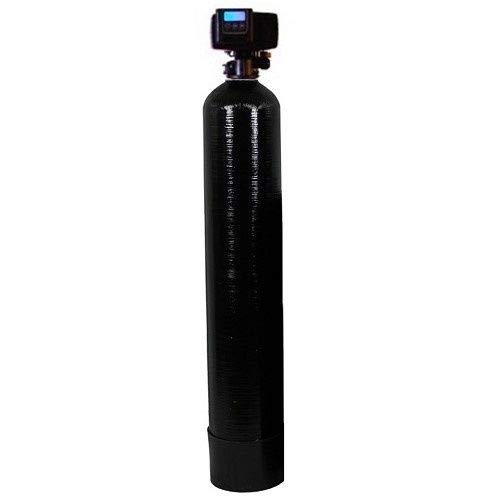
💧 Perfectly designed for 4-6 bathrooms homes, the Aquasure Signature Series is the professional grade Whole House Water system that delivers high quality filtered, ultra-softened water to every outlet throughout your entire home. No need for manual regeneration, backwash, draining, this system automatically regenerates and backwash, making it cost efficient and easy to maintain.

New patent pending balcam technology that minimizes bearing fatigue with the industry's only 5-year compressor warranty
Maintenance Tips to Prevent Future Leaks
Although maintaining a shower head may seem like a minor task, regular attention to its components can effectively prevent future leaks and guarantee peak performance over time. Homeowners should follow essential maintenance tips, such as regularly opening and closing the diverter to prevent soap scum build-up, which can hinder movement and contribute to a leaking shower. Periodically cleaning the shower head and diverter assembly by soaking in vinegar can eliminate limescale and mineral deposits that obstruct water flow. Additionally, unscrewing the shower head after each use allows thorough drainage, minimizing water accumulation. It is essential to inspect and replace worn rubber washers and seals routinely, as this degradation can greatly increase the risk of leaks in the system. Installing rust-resistant stainless steel shower fixtures can further enhance durability and reduce maintenance needs.
Seeking Professional Assistance for Shower Repairs
Seeking professional assistance for shower repairs is an important step for homeowners dealing with persistent dripping issues, as licensed plumbers possess the specialized expertise required to identify and effectively address complex problems. These professionals can efficiently repair a leaking shower by diagnosing potential causes, such as faulty valves or worn-out washers, which may not be apparent to the average homeowner. Engaging a plumber not only saves valuable time but also reduces the risk of further plumbing damage or complications, which can arise from improper repairs. Before hiring a plumber, it is advisable to research potential candidates, check online reviews, and request credentials and detailed cost estimates. This guarantees transparency and trustworthiness, vital elements for a positive shower repair experience. Additionally, choosing a shower valve with a CUPC certification can help prevent leaks and ensure consistent water flow, as these certifications are designed to meet stringent safety and quality standards.
User Experiences and Preferences Regarding Drips
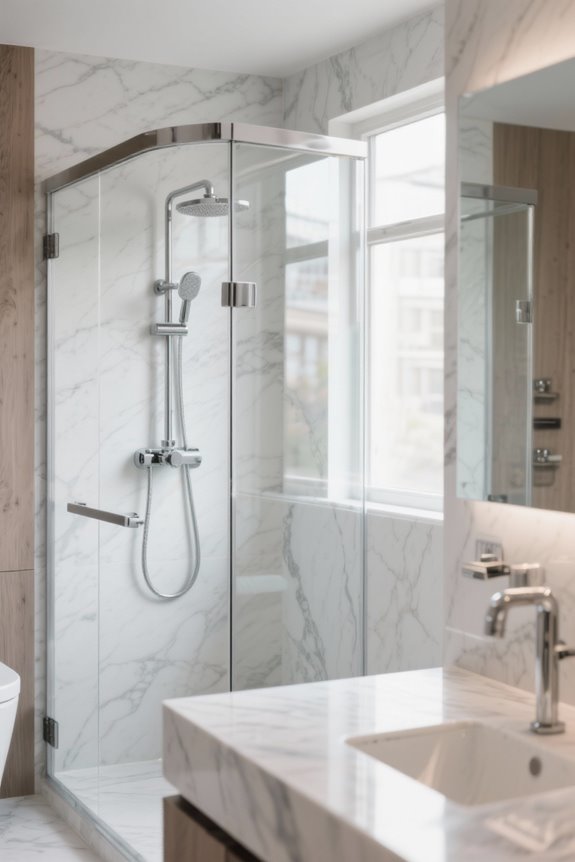
How do users perceive dripping from shower heads after shutoff? Many find persistent dripping particularly bothersome, especially from rain shower heads, which may exacerbate this issue due to their design. Users often report that a tilted or downward-positioned shower head results in increased dripping, leading to frustration among those who expect immediate drainage. Various DIY methods, including flicking the shower head or wiping its nozzles, are employed in hopes of breaking water tension to reduce dripping. Community feedback highlights the effectiveness of installing a vacuum breaker, which can alleviate the dripping problem; however, results tend to vary depending on the specific shower setup and individual user preferences, indicating a need for personalized solutions in many cases. Some shower systems, like the SR SUN RISE, feature high-pressure handheld showers that can enhance the overall bathing experience and potentially reduce dripping by offering adjustable spray settings.
Additional Considerations for Shower Maintenance
Addressing the issue of dripping shower heads often leads to further considerations regarding shower maintenance, particularly regarding the diverter and the shower head itself. Regularly opening and closing the diverter can enhance its fluidity, reducing water accumulation, which diminishes dripping after use. To maintain peak function, spraying a cleaning solution at the diverter entry effectively eliminates soap scum or mineral deposits that may obstruct movement. Furthermore, unscrewing the shower head periodically is beneficial for complete drainage, minimizing residual water. Employing absorbent materials can also assist in soaking up lingering water after use. Although frequent removal of the shower head aids in maintenance, caution is warranted, as repeated unscrewing may wear down the threads, complicating future maintenance endeavors.
Frequently Asked Questions
Why Does My Shower Head Drip When Turned Off?
A shower head drips when turned off due to water pressure discrepancies, valve issues, or design factors. Regular maintenance tips, such as cleaning the diverter, can help address these drip causes and improve functionality.
How to Stop a Shower Head Dripping?
Like a stubborn faucet refusing to relinquish its grip, stopping a dripping shower head requires effective DIY fixes. Regular shower head repairs, diligent leak detection, and a focus on water conservation can dramatically reduce unwanted drips.
Why Does My New Rain Shower Head Drip Hours After I Turn It Off?
The new rain shower head drips hours after shutoff due to rain showerhead issues linked to installation errors, inadequate water pressure, or poor plumbing maintenance. These factors can trap residual water leading to prolonged dripping.
How to Stop Tap From Dripping After Turning Off?
To stop dripping faucets, one must check for faulty washers, tighten loose handles, and adjust water pressure. DIY repairs, including replacing worn components, can effectively prevent persistent leaks after turning off the tap. Regular maintenance is essential.